The composition of a photograph is the photographer’s own creativity. Whereas, basic astro landscape photography requires discipline in terms of some procedures along with standard equipment. Finding out perfect location, proper moon phase and physical endurance are the top most challenge for any astro-landscape photographer. At times, it gets tiring because it requires the photographer to come out of his/her comfort zone and stay awake along with the camera in extremely cold conditions. So here are some of the tips for basic astro landscape photography.
Equipment
A DSLR or a Mirror Less Camera: A decent DSLR or a Mirror Less camera with a high ISO shooting capacity is a must. Another essential feature it should have is the option to photograph in a long shutter duration. Since it is a night shot, you will have very less light to work with, hence both of these features are a must. Some other important advantage of these cameras provides that they allow you to change the lens. A fast lens is considered to be better for astro-landscape because they allow more lights to arrive inside the sensor. Any camera with these features is good to initiate with. Even then, you will have an edge if you are following features in your camera and lens:
- A full frame camera means less interference with high ISO.
- A camera with better low light shooting capability, i.e. can shoot with high ISO.
- A tilting display can be handy to compose your image.
- Manual focus option.

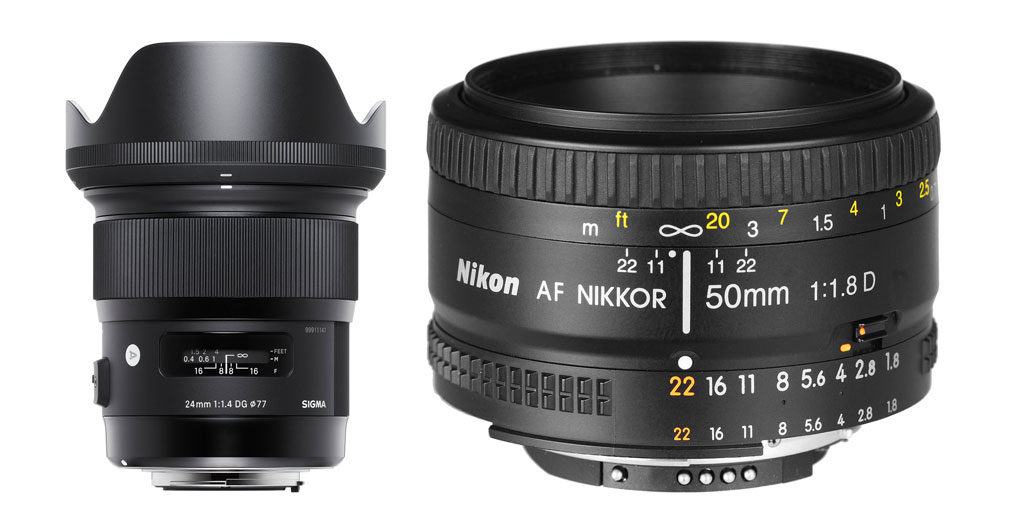
A wide-angle lens: Most of the entry level DSLRs are provided with a 18-55 kit lens. I have witnessed people taking some stunning images with this lens. Nevertheless, in an APS-C or crop sensor, 18mm does not gives you the actual 18mm point of view. When we are shooting in the night, we would like to insure the maximum area of the sky with either milky way or just glittering stars. Hence, any lens with 24mm coverage with a full frame sensor or less is always desirable. Another characteristic is desirable is that the lens should have a wider aperture. If not f/1.4 or f/1.8, it should at least have f/2.8. Like I stated, these are all desirable. If you are starting with kit lens 18-55 f/3.5-5.6, you will still obtain very good results. Another cheaper option is to have a 50mm f/1.8 lens. This lens will not grant you a wider point of view, but it can help you to reduce your ISO with a wider aperture, which will result in the better quality image. Just give it a try today!
A sturdy tripod: Since you will be doing a long exposure, you will require a good sturdy tripod to position your camera. A tripod in my judgment is a long-term investment. And then spending extra on a good tripod is always recommended. In that respect are some desirable features in a tripod which are listed below:
- A ball head always provides you a fuller range of movement.
- Feature to handle additional weight in the case of heavy wind.
- A carbon fiber legs are always light to carry.
- Feature to remove the center column to compose on a ground floor.

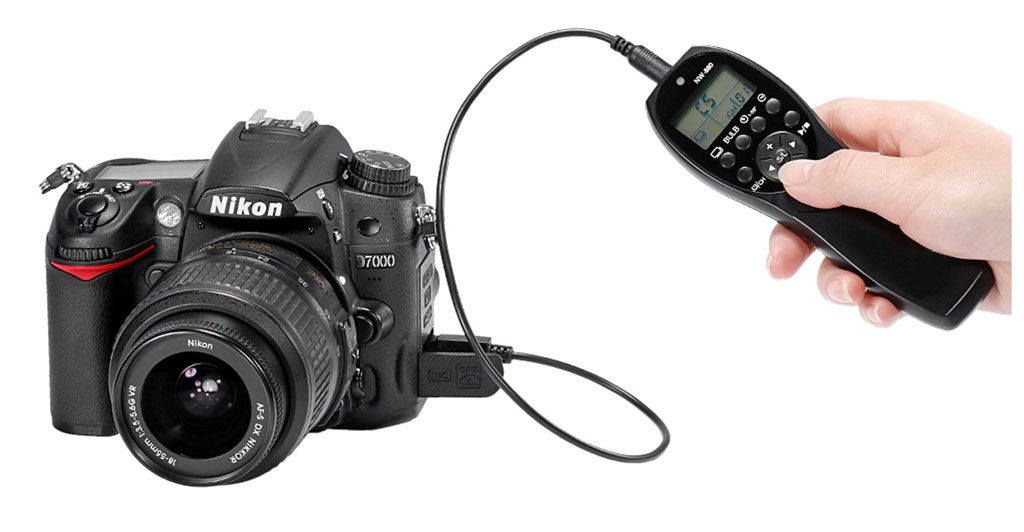
Shutter Release, Remote: Since we will be applying a long exposure technique, it is always better to stay away from your camera. Use a shutter release, remote, preferably a wired version so that your camera is not touched while shooting. Keeping the camera still away from any kind of apparent motion is very much essential. You can work for either a basic shutter release, remote or an intervalometer. Intervalometer will be needed if you are doing time-lapse photography. My recommendation would be to work for an Intervalometer.
Planning
Preparation for the shoot is very essential. You might not get a desirable effect if you go out randomly and shoot. The Moon phase, the light pollution, clear weather, etc. are some of the elements you should consider while planning.
Moon Phase: A full moon will light-up the foreground clearly, yet you will not be able to encounter many stars. Likewise, a new moon phase will work opposite. Best time is to go out during the first quarter or last quarter of the moon phase. Also, watch out the moon rise and moon set timings so that you plan to photograph properly. On that point are many moon phase apps available for your phone and tabs. I personally use an app called ‘Phase of the Moon’ and it’s complimentary.
Light Pollution: Light pollution is one of the most worrying factors in locating stars. You will notice in busy cities we hardly can catch stars. The moment we move off from the city lights, we start seeing stars. You can do a research on the location where you will have very minimal light pollution or no light pollution. Less light pollution means more leads. Also, less light pollution helps you to locate milky way. If you wish to shoot milky way, it is essential to recognize how to locate the milky way’s galactic plane specifically the bright galactic center. Using a smartphone app is a better estimate. On that point are many apps available, but I use an app called ‘Stellarium Mobile Sky Map’.
Clear Weather: I guess you would not like clouds to cover the entire sky when you are out for a night sky shooting. Plan properly, insure the weather forecast.
Technique
After doing proper planning and bring all the necessary equipment, now let’s see the technique.
Allow me to tell you from the beginning that it is all about Manual Mode. You necessitate taking full charge of your camera.
Shoot in RAW: Try to capture maximum information. Shooting RAW gives you the liberty to play a round with your file in post-production. RAW not only assists you to fine tune white balance according to your need, it also helps in refining your image for a best possible quality output. Since it is an uncompressed information captured by the camera, you receive the best possible quality file to work with.
Manual White Balance: Often auto white balance gets fooled by the night sky. Resulting in some unwanted color cast. Since you are shooting in RAW, it is not important, all the same, it is important for the JPEG preview which your camera provides after each image. Most of the cameras also provide a histogram of the JPEG preview, then fine tune the white balance that comes close to what you might want to your image to look like will create a more useful histogram. I often use 3500K manual white balance to bring a rich blue sky. But once more, it depends on the situation. So, feel free to fine tune your white balance.
Focus manually: Both the focusing system, phase detection and contrast detection often fail due to the low light condition. This is because of the insufficient ambient light condition. Thus, focusing manually becomes the only option. Oftentimes, we use a wider aperture so capture maximum light, therefore focusing on the right spot to get maximum depth of field becomes very important. Always look for Hyper focal distance for focusing.
Composing the image: You are shooting in the dark. Framing your image won’t be possible by just looking through the viewfinder or on the LCD. And you would not like to finalize your composition by using up multiple test shots with a longer exposure because that will kill all your time. Thus, the best solution is to raise your ISO to maximum, take multiple test shots and finalize. High ISO will reduce your exposure time, so you will save time. Once you are certain about the framing, reduce the ISO to the desired setting.
Switch off Long exposure NR: Since we will be practicing a long exposure, this will result in the noisy image. In camera noise reduction is recommended by some, but I believe you will consume your time because it takes the same amount of exposure time to reduce the noise. Instead, it is recommended to execute it in post-production.
500 rules: When you set off shooting in the night you will realize how quickly the star moves on the image due to the earth’s rotation. The movement results in a star trail instead of a sharp dot in the image. In order to minimize the trail of the store, you need to shorten the exposure time. If you manage this, you have to compensate either with a wider aperture or with higher ISO. Since in most of the night shot is taken with a wider aperture, the only option left with you is to increase your ISO. Increased ISO will attract more noise therefore you ask to find out the appropriate shutter speed in each focal length where the star doesn’t appear as a trail. Here the rule of 500 becomes helpful. This assists you to calculate the exposure time for the minimal star trail by dividing the full frame focal length into the number 500. For instance, you are shooting with a 24mm focal length of a full frame sensor. The exposure time for the minimal star trail would be 20 seconds. (500/24=20.83). If you are applying a crop sensor, you need to multiply your focal length by the crop factor, i.e.1.5x in the case of Nikon. For instance, you are using a 10mm crop sensor lens. Convert the focal length equivalent to a full frame sensor. Which 10X1.5=15 mm. Now estimate the exposure time. 500/15=33.33 or 33 seconds. Yet, it is just a reference number. Some suggest the number 500 should be replaced by 400. Please experiment and analyses your image.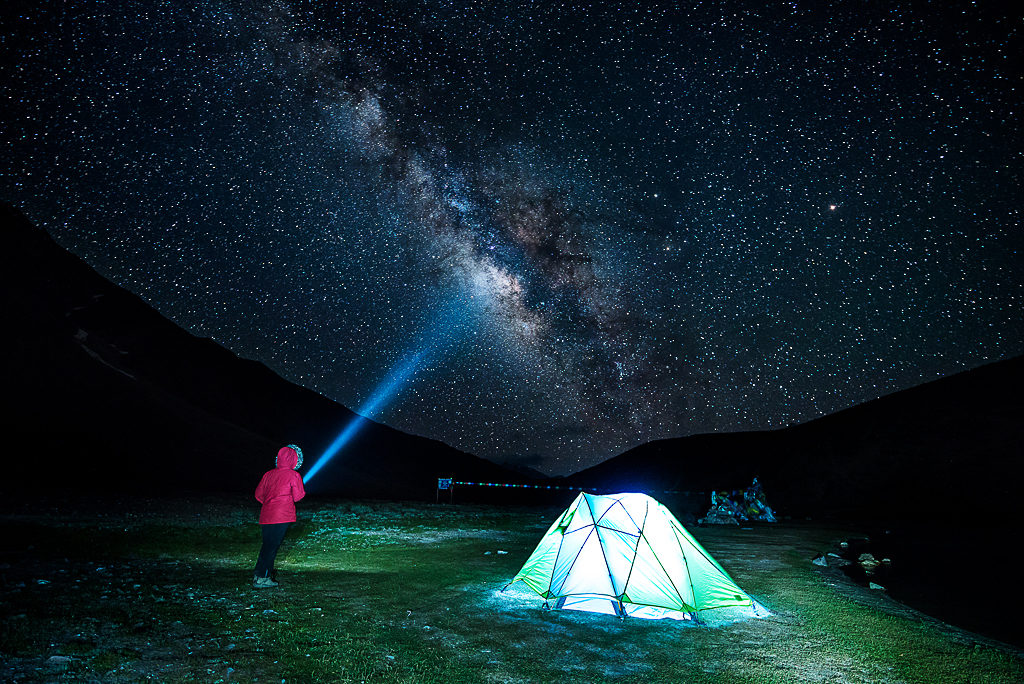
Exposure
Astro-landscape is all about manual exposure. It is because the automatic algorithm inside the camera is not equipped enough to do by such extreme low light conditions. Thus, all three elements of Exposure Triangle need to be adjusted manually.
Shutter Speed: Shutter Speed depends on what you desire. Whether you are looking for sharp dots of stars in the sky or you want star trails. Use the 500 rule technique and decide your shutter speed. Here I would like to remind you that a good sturdy tripod is must in order to attain the desired result with long exposure.
ISO: Modern day cameras are capable of creating a good quality image even on a higher ISO. This is really effective for Astro-landscape. Higher ISO captures more lights, so the sensor records more light. There is also a downside to it. It results in a noisy image. Hence, you need to decide a threshold limit of your particular camera. ISO 1600 is a safe number to start with. Fine tune according to light conditions. Both extremes should be avoided.
Aperture: The diaphragm of your lens allows the illumination to pass for the exposure. Wider the aperture, more light recorded by the detector. It is often proposed that the widest possible aperture should be used to capture more light. This likewise helps in reducing the ISO. Withal, this results in a smaller depth of field. Here you need to take in a fair bit of idea about hyper focal distance and your focus point. It is perpetually recommended to use a fast lens for extra-landscape. This facilitates in reducing the ISO. Let’s see how this goes. For instance, I am using a 18-55 f/3.5-5.6 kit lens. I require to compose an image at 24 mm with f/4. My desired shutter speed is 15 seconds. With the given lighting condition, my ISO is coming to 3200. Now I have another lens which is 24 mm f/1.4. In same lighting condition if I use f/1.4, my ISO setting would be 400 with the shutter speed of 15 seconds. This will result in a less noisy picture.
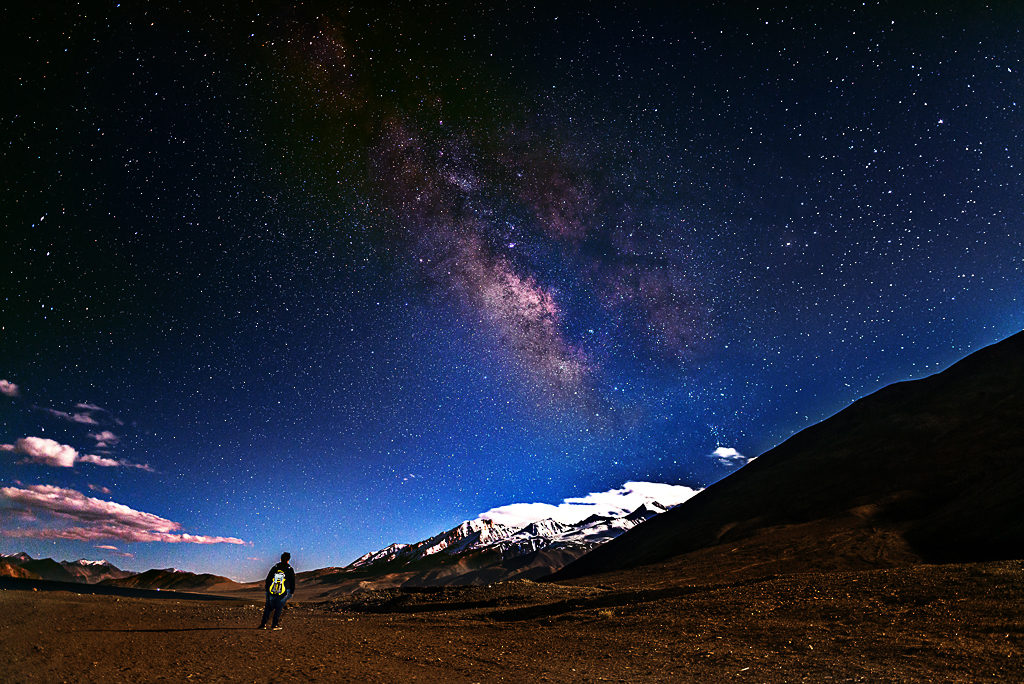
Post-Production Basics
In the digital photography era, taking a picture is 50% of the job. Rest is your post-production. It becomes more significant in the case of Astor-landscapes. Since you are shooting in RAW, you acquire the additional liberty to fine tune and get the best out of your image. Here I would like to stress on one important point. Post-production is also an artwork. Knowing the technique does not gain you good at it. When and how to apply, this technique is an artwork.
White Balance: Often we don’t find the desired sky color straight from the camera. If we switch the white balance in camera, that applies to the entire image. Therefore, be ready to perform a selective fine tune of your white balance. Which means Different white balance for the sky and different for the foreground.
Sharpening: No or very minimum sharpness applied in your image while shooting in RAW. Sharpness is an important process in digital post-processing work flow. Since we are shooting stars, we can enhance the appearance of stars by increasing the stars. But it has to be practiced carefully.
Noise Reduction: We are shooting at high ISO. And our long exposure NR is switched off. So, reduce the noise in post-production. Blow up the image and reduce the noise carefully.
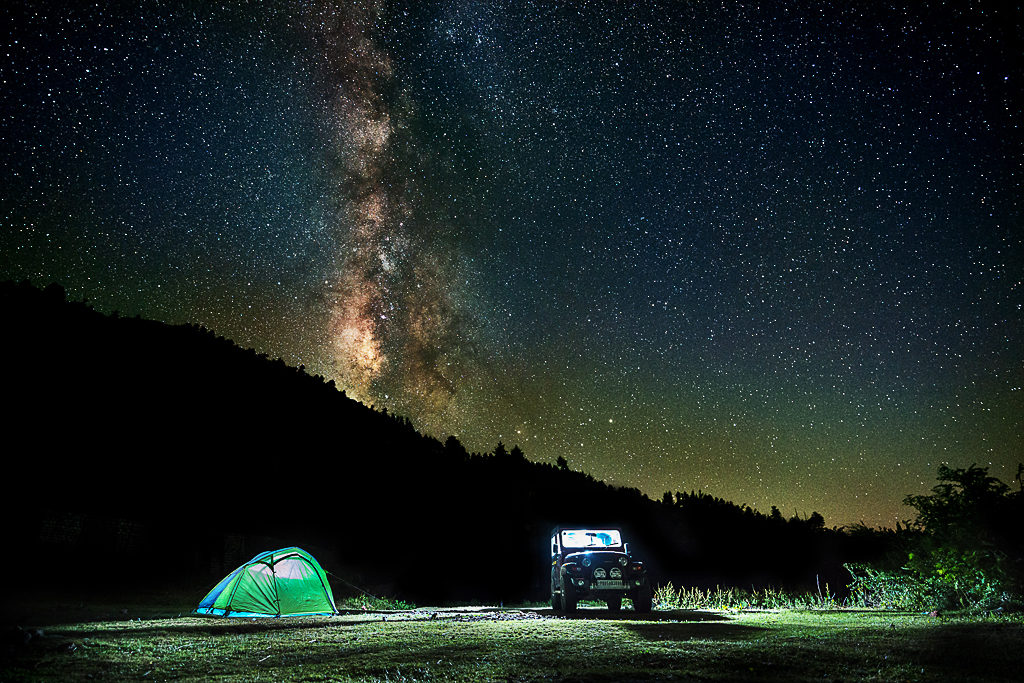
Now that you understand the basis of Astro-landscape, move out, find a dark sky and shoot. Good Luck!!


